AR Art Starter Pack: The 3 files you actually need
 Bernie Torras
The biggest myth in the AR world is that you need to be a motion graphics expert to make your art move. You don't. You just need to be smart about how you layer your files.
At Painta, we designed our editor to work with the tools you already have. You don’t need to export complex "Alpha Channel" videos. If you can make a video with a solid background (like a green screen), you can make AR.
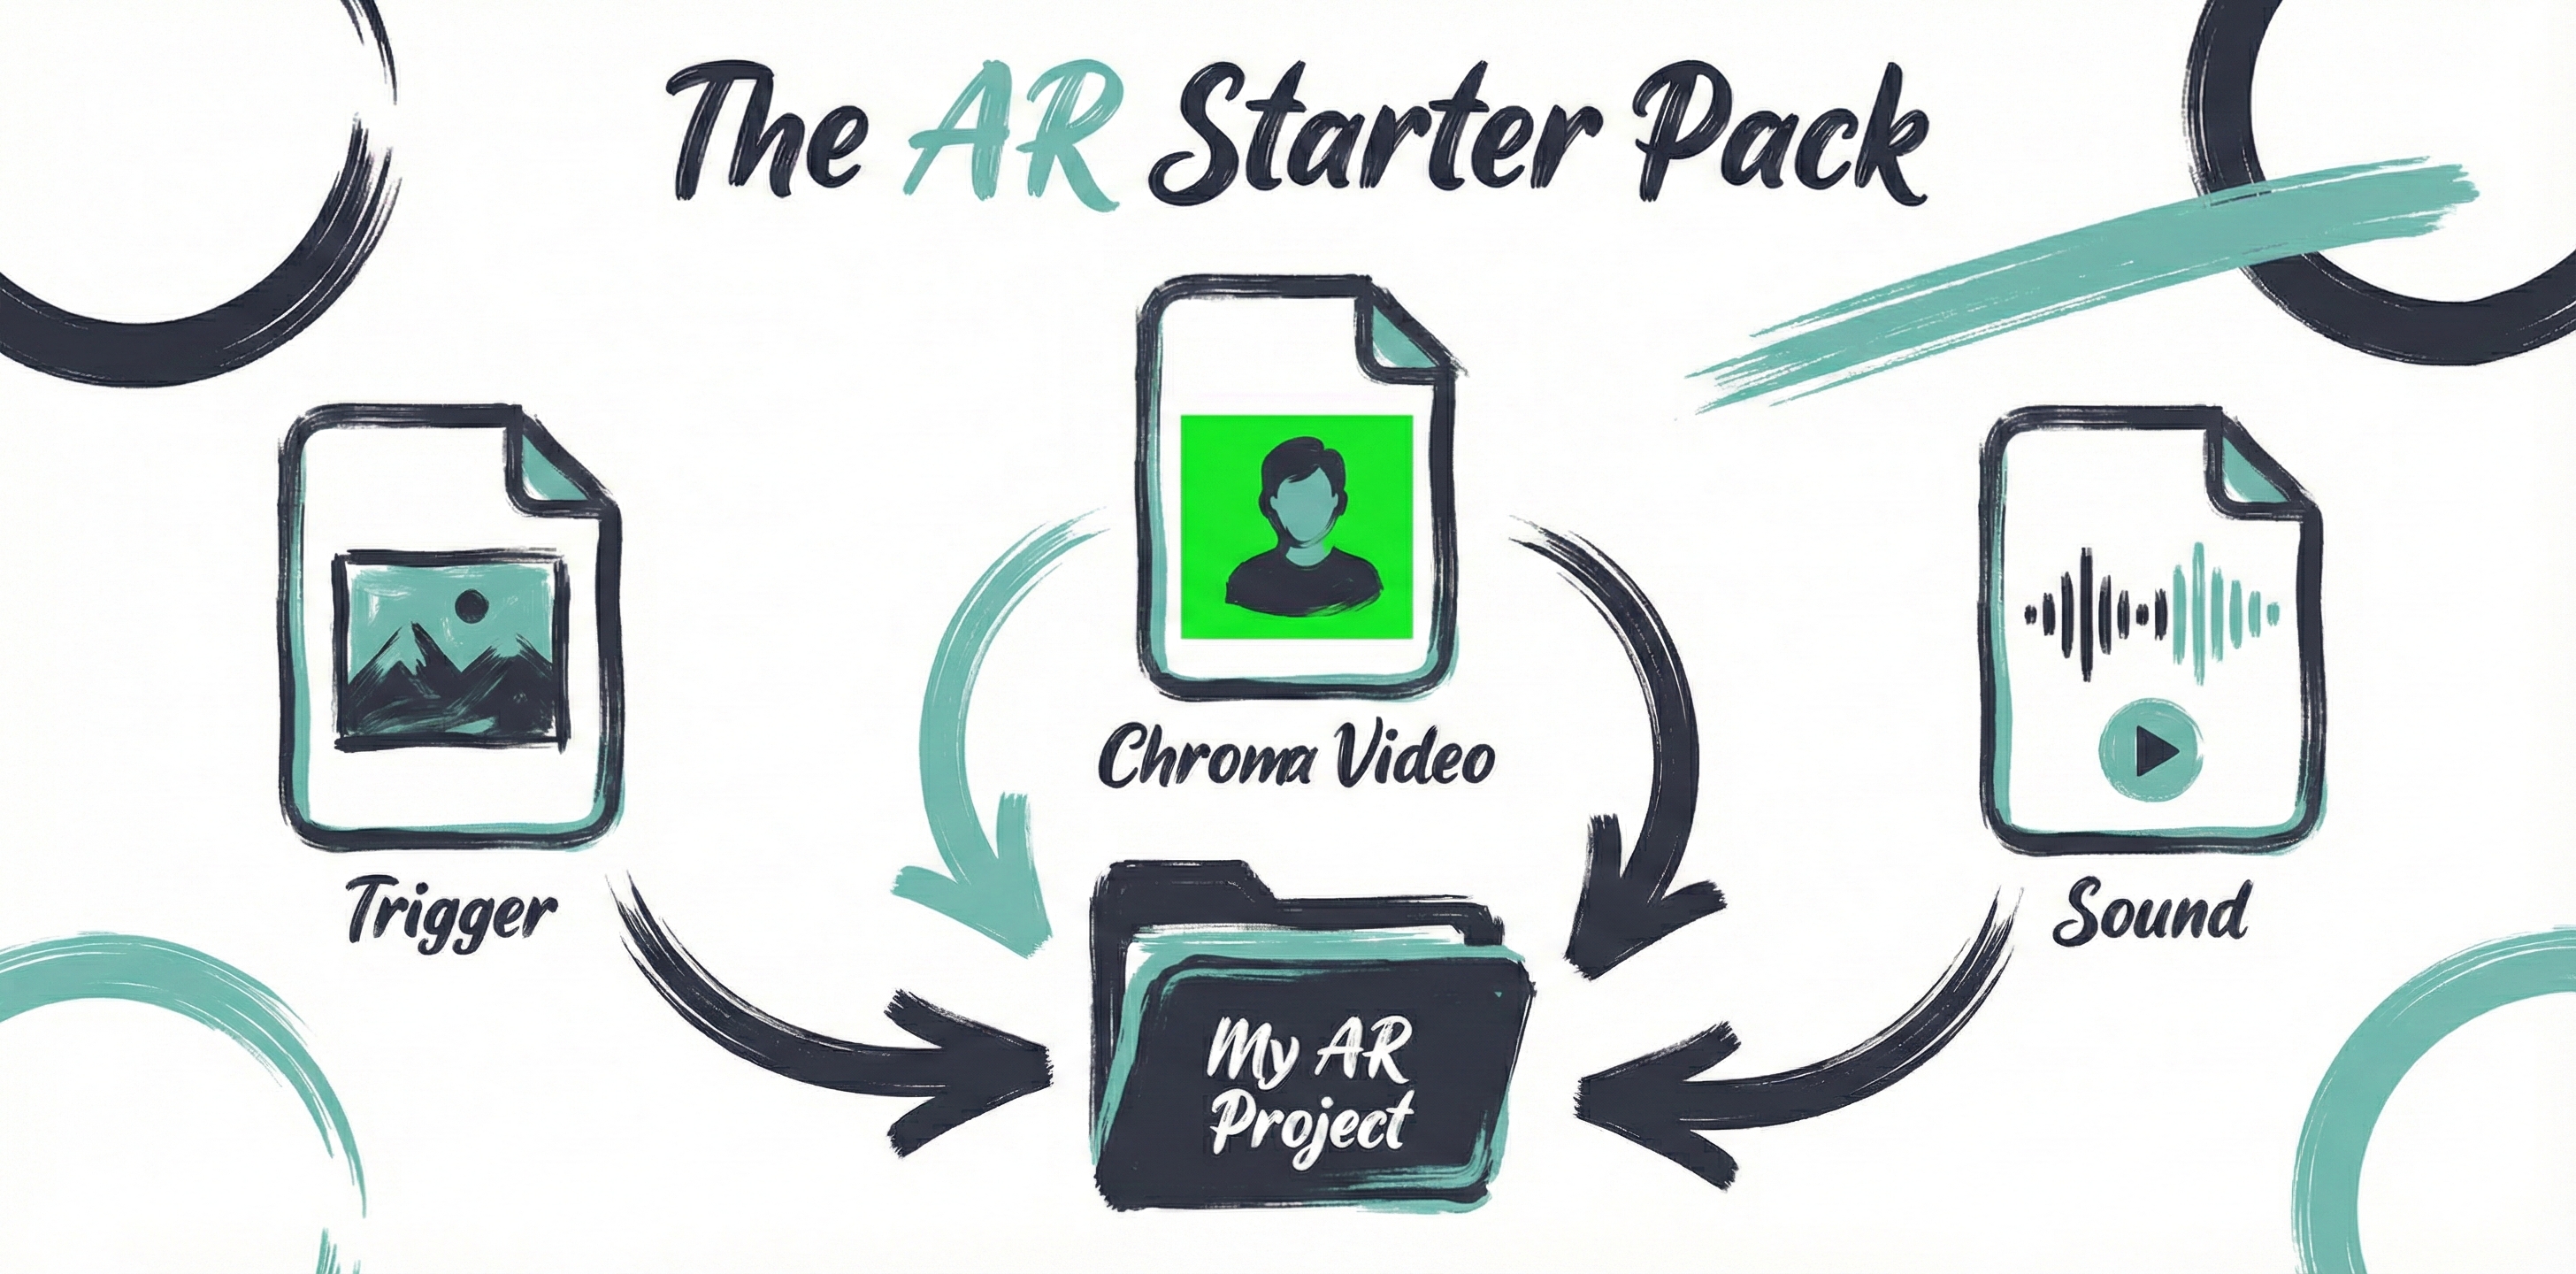
Here is the definitive checklist of the assets you need to prepare before you log in.
1. The Trigger (Your Map)
This is the reference image that tells the camera "the magic happens here."
- The File: A flat, digital photograph of your physical artwork.
- Format:
.JPGor.PNG. - The Golden Rule: Crop it perfectly. Do not include the frame, the wall, or the easel. The image should look exactly like the canvas surface.
- Pro Tip: Avoid glare. Reflections on oil or acrylic paint can confuse the camera. A matte, evenly lit photo works best.
2. The Video Layer: The green/blue screen secret
This is where the action happens. You have two creative choices here: a Background Video (opaque) or a Floating Element (Chroma Key).
How to make things float without "Transparency": Since most mobile editing apps (like CapCut or InShot) don't export transparent video easily, we use the Chroma Key method—just like in the movies.
- The File: A video of your animated element on a solid, contrasting background (usually Green or Blue).
- Format:
.MP4(Standard video). - The Workflow:
- Warning: If your painting has a lot of green, use a Blue Screen or Magenta Screen for your video background instead. You can pick any color to remove in our editor.
The "Background" Video (Optional): You can also upload a standard video without tracking to cover the entire canvas (e.g., the day turning into night). You can even combine both: a Background video plus a Chroma video on top!
- Size Tip: There is no strict file limit, but for the best experience for your collectors, try to keep videos under 50MB. Lighter files load faster.
3. The Audio (The Atmosphere)
Sound creates immersion. You have flexibility in how you handle this:
- Option A: Embedded Audio. If your video file already has sound, our editor will play it automatically.
- Option B: Separate Layer. If you want to add a voiceover narration or a specific song later, you can upload a separate audio file.
- Format:
.MP3or.WAV.
Summary: Your "Ready-to-Upload" Folder
Before you start, create a folder on your desktop with these three things:
- 📁 Reference.jpg (Your cropped artwork).
- 📁 Animation.mp4 (Your video with a solid Green/Blue background).
- 📁 Audio.mp3 (Optional, if not in the video).
Got them? Then you are ready to break the frame.