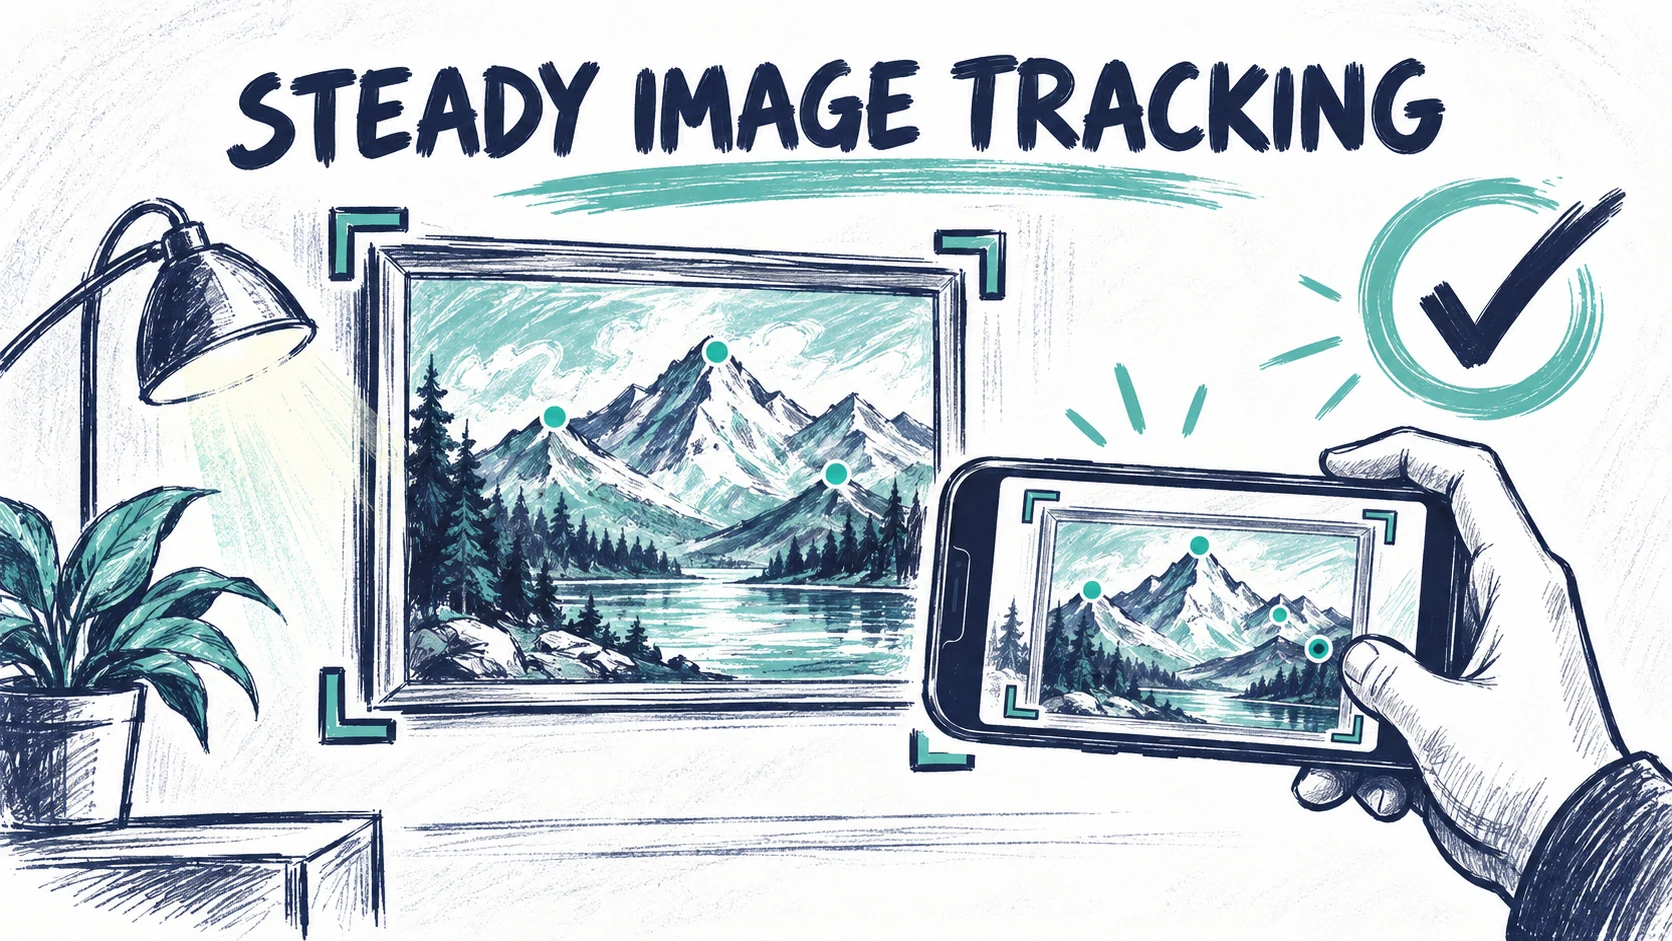

If an AR layer drifts, disappears or never finds the picture, first check the reference and viewing conditions. Adding more effects will not repair a poor match between the camera image and the target.
This tutorial is for a flat artwork using image tracking. Keep a saved version of the current project before replacing its reference. You need the physical work, its target photograph and a phone with access to the published viewer.
1. Check that both pictures really match
Compare the uploaded reference with what visitors will point their camera at. Look for a different crop, missing border, later retouching, a mirrored photograph or a print with a changed aspect ratio. Use the version that represents the actual object on display.
Photograph the artwork straight on and keep its proportions. Do not add a digital texture or random dots solely to the uploaded reference: the physical work would then contain different details.
2. Improve the photograph
Make a sharp photograph in even light. Move lights to reduce reflections and avoid the phone's own shadow. Crop consistently to the intended target area. Inspect fine details at full size before uploading.
Pictures with varied, recognisable detail across their surface are generally easier to distinguish than large flat colour fields or repetitive patterns. This is a practical selection guideline, not a guarantee that a particular picture will track well.
3. Test the viewing conditions
Open the public experience, allow camera access and follow the viewer's instructions. Start with the whole artwork comfortably inside the camera view, then move closer gradually. Keep the phone steady while it first recognises the image.
Test at the actual display location. Glass, glossy varnish, low light and a strong viewing angle can change what the camera sees. Try a position with less glare before changing your project. Do not alter the artwork itself just to diagnose the problem.
4. Separate alignment from recognition
If the viewer recognises the artwork but the overlay is consistently too large or offset, inspect the layer's scale and position in the editor. That is a composition problem rather than proof that the camera cannot find the target.
If the content appears and then vanishes as the camera moves, repeat the test with better lighting and a less oblique view. If the camera never starts, check camera permissions and open the link in the phone's main browser.
5. Replace the reference carefully
When you have a better target photograph, use the reference-image control in the layer list. Review the alignment of every overlay afterwards, especially if the crop changed. Save and republish, then open the public link again to test the updated experience.
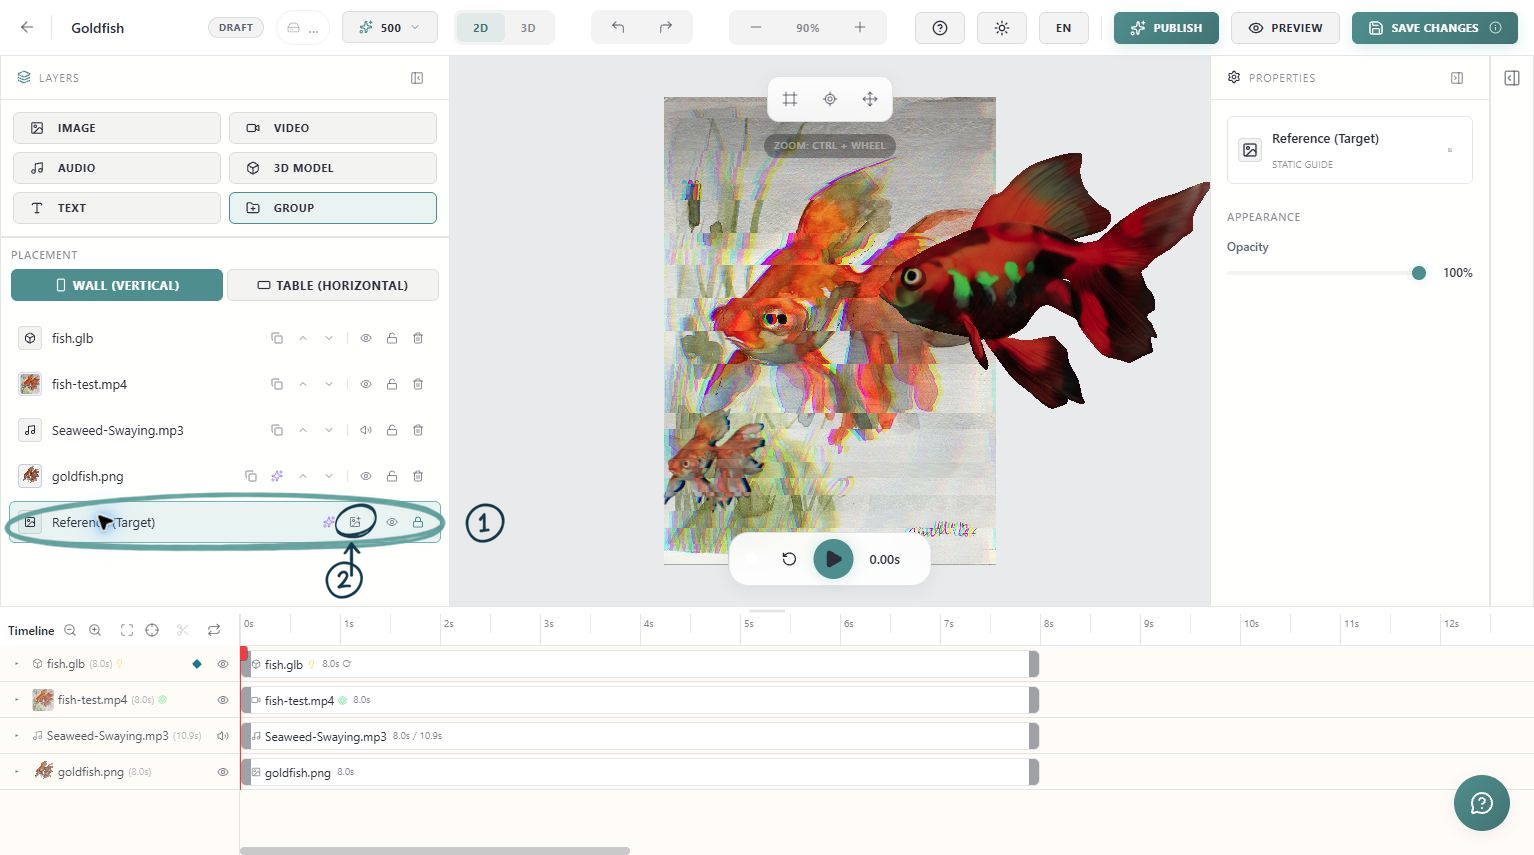
Record a useful test
Write down the phone model, browser, lighting, approximate viewing angle and what failed: no camera, no recognition, drifting or a fixed offset. Change one thing at a time and repeat the same scan. A short screen recording and a photograph of the display position make a support request much easier to diagnose.